Non-Destructive Testing
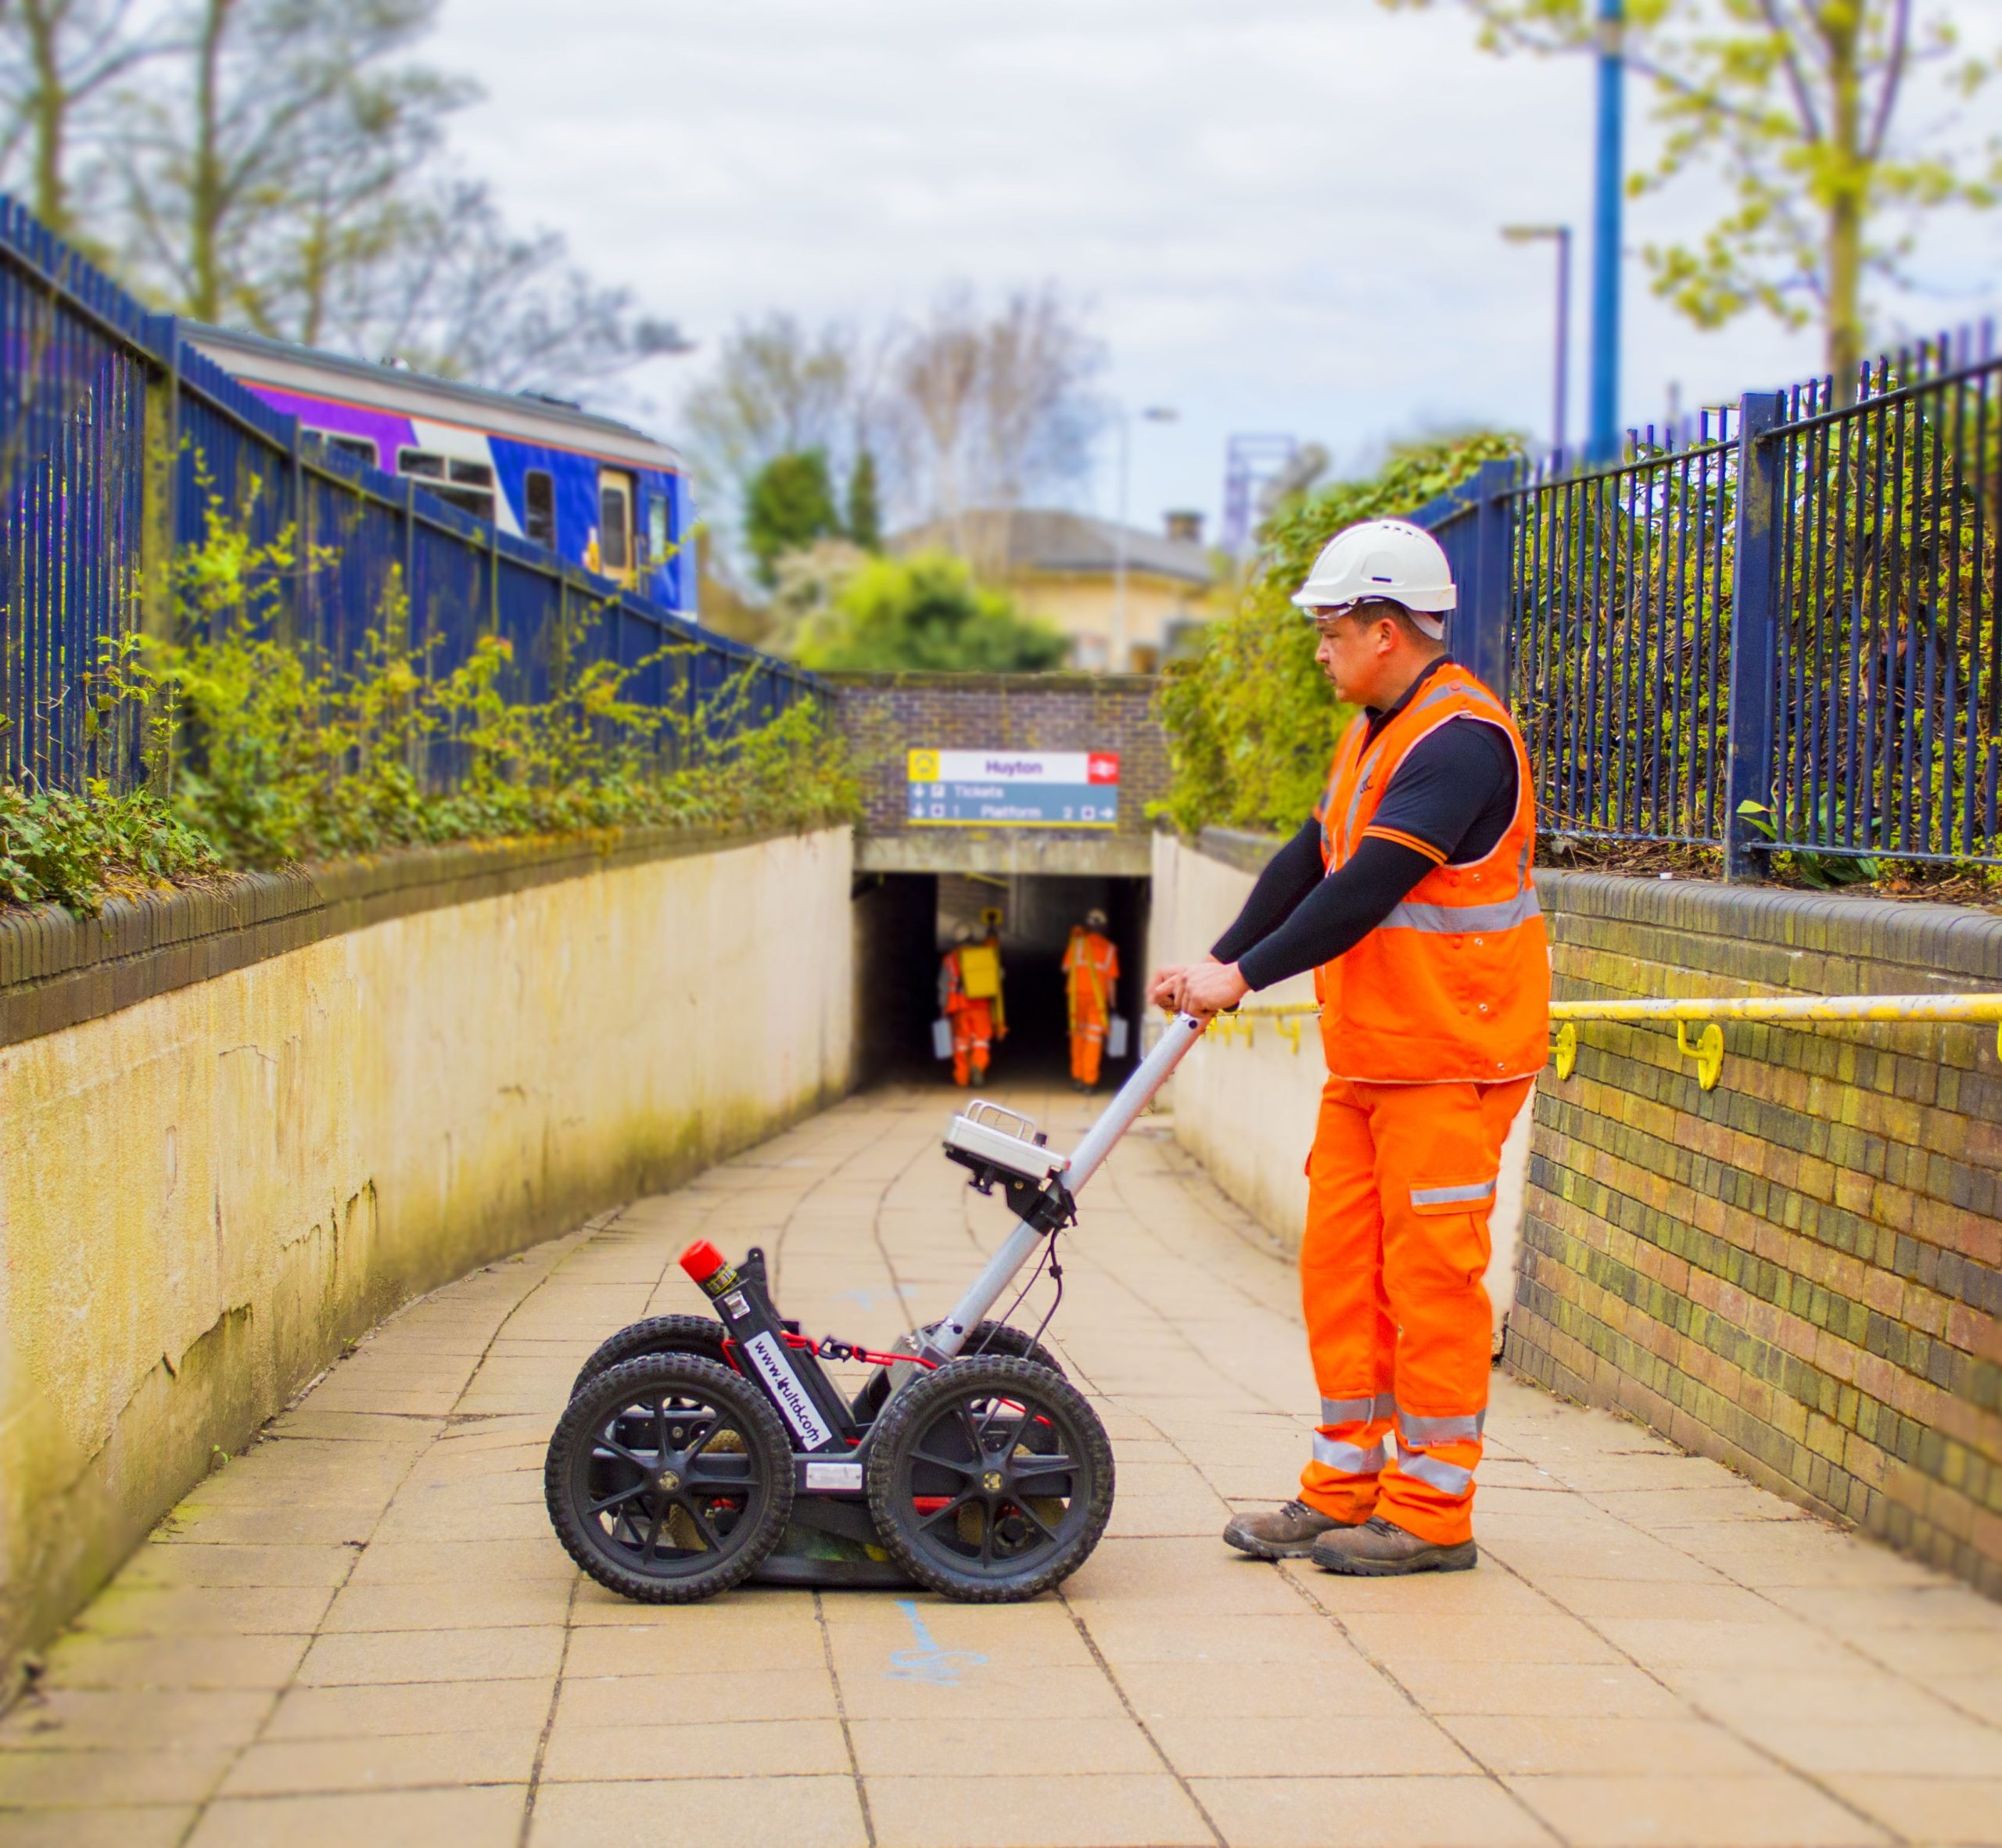
PLS Surveys adopt the use of industry leading concrete scanning instruments. Using the very latest Ferroscan and Pulse Radar technology to scan our clients’ structures, we can provide clear plans of what lies within the concrete wall or slab.
From civil engineering and rail contractors assessing existing infrastructure to developers seeking to re-purpose an ageing building. Concrete scanning can add real, measurable value to our clients’ projects. Our completely non-intrusive methodologies provide the sub-surface information they need to make an informed decision.
Whilst certain conditions (uncured concrete, overly dense rebar etc.) can impede analysis. this technology delivers incredibly useful data on sub-surface conditions; data that can be evaluated immediately on site or later as part of a full report.
Equipment
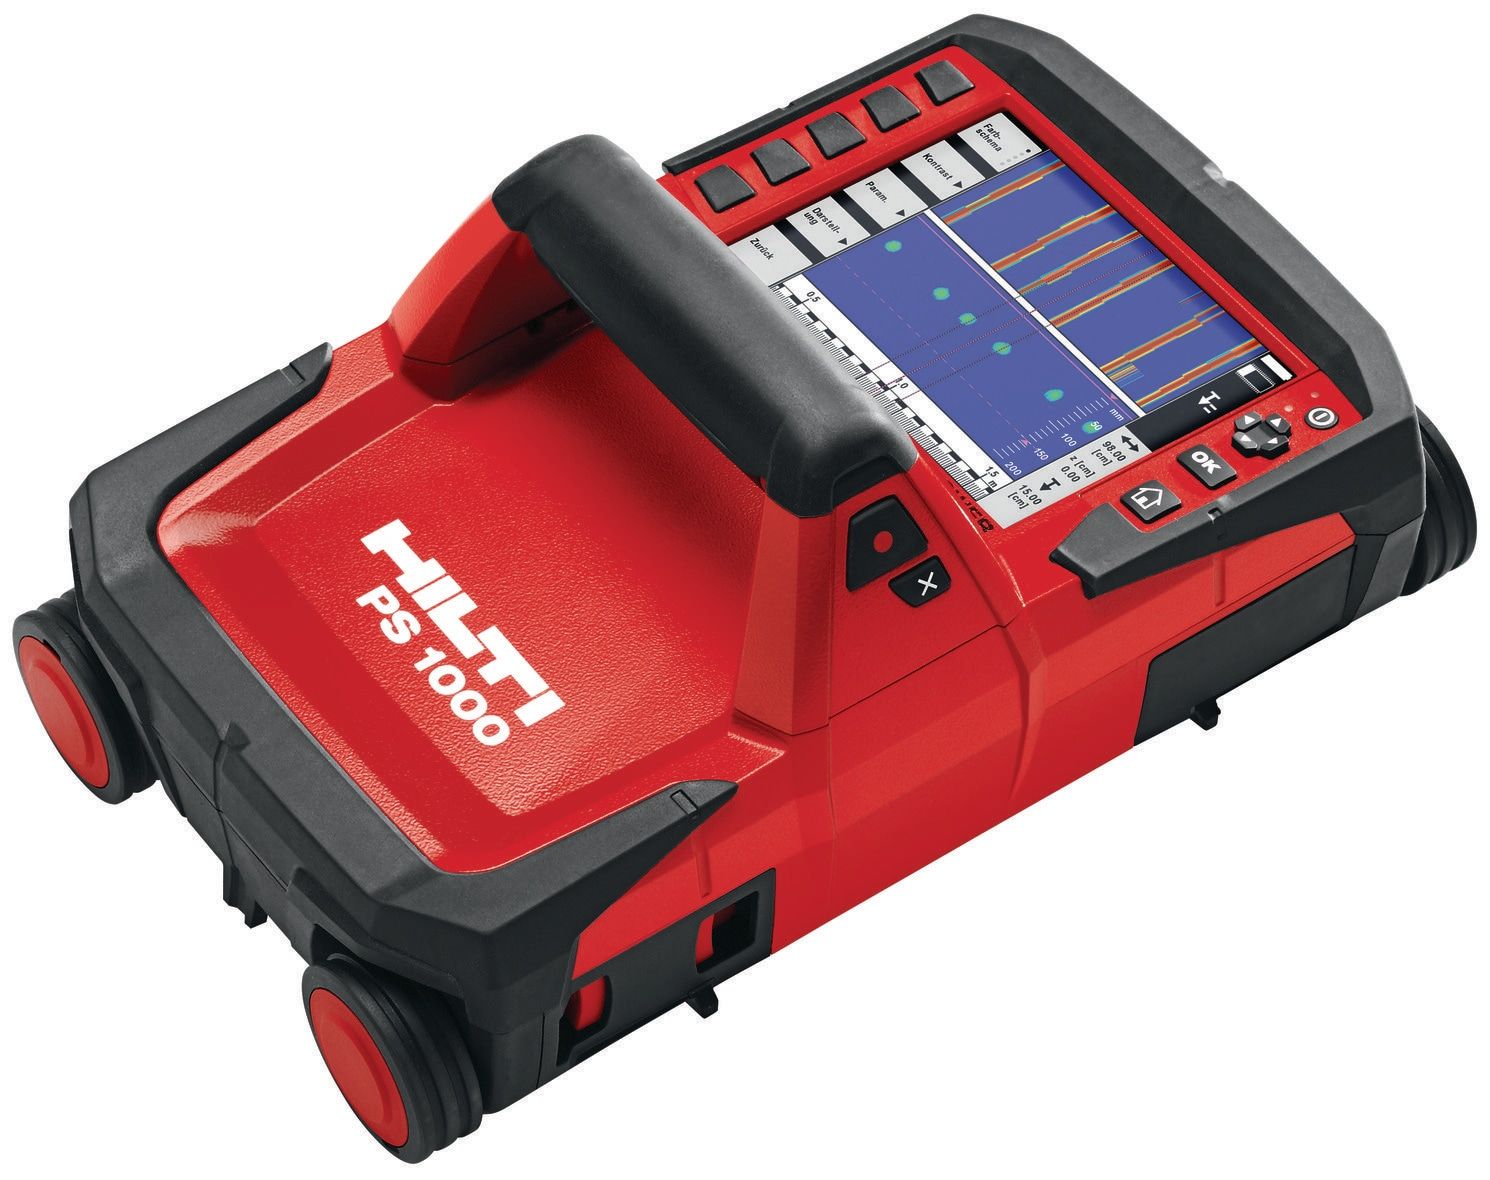
PLS Surveys favours the Hilti PS350 Ferroscan and PS1000 Pulse Radar to carry out the non-destructive investigations.
Hilti PS350 Ferroscan
The Hilti PS350 operates effectively (depending upon conditions) down to a depth of 180-200mm, delivering high-resolution, highly accurate information on rebar depth, layout, spacing and diameter. Ferroscan instrument are only able to detect ferrous objects and are therefore not suitable for locating voids, plastic ducting or other non-metallic objects.
Ideal for highly accuracy rebar depth, diameter and cover surveys, a series of audible and visual warnings lets a user mark out the position of rebar in situ. Whilst depth and diameter information is extracted during post-processing. A two-dimensional image can then be output from the device and dropped into reports or CAD drawings as required.
Hilti PS1000 Pulse Radar
The Hilti PS1000 has a much greater operational range (around 300mm) and emits high frequency (UHF and VHF) electromagnetic radiation into a concrete structure. That radiation is then reflected back to the receiver, providing a detailed image of those of any subsurface elements detected. A revolution in the field of structural investigation, this tool allows the user to detect both ferrous and non-ferrous objects (plastic ducting and services etc.) as well as other sub-surface anomalies such as cracking, voids and changes in material.
Ideal for looking deep within a structure to generate a picture of sub-surface conditions, the PS1000 is able to output both 2D and 3D scan images. This shows multiple layers of reinforcement and the pattern thereof. That said, whilst the PS1000 does deliver an unparalleled insight into the makeup of concrete structures. Its lower resolution means that, for accurate bar diameters, the traditional Ferroscan is still the tool of choice.
Used in isolation, either one of these tools has the potential to quickly generate an informative and cost-effective picture of sub-surface conditions. When combined, however, the results can be truly incredible.

